
Last updated November 15, 2026
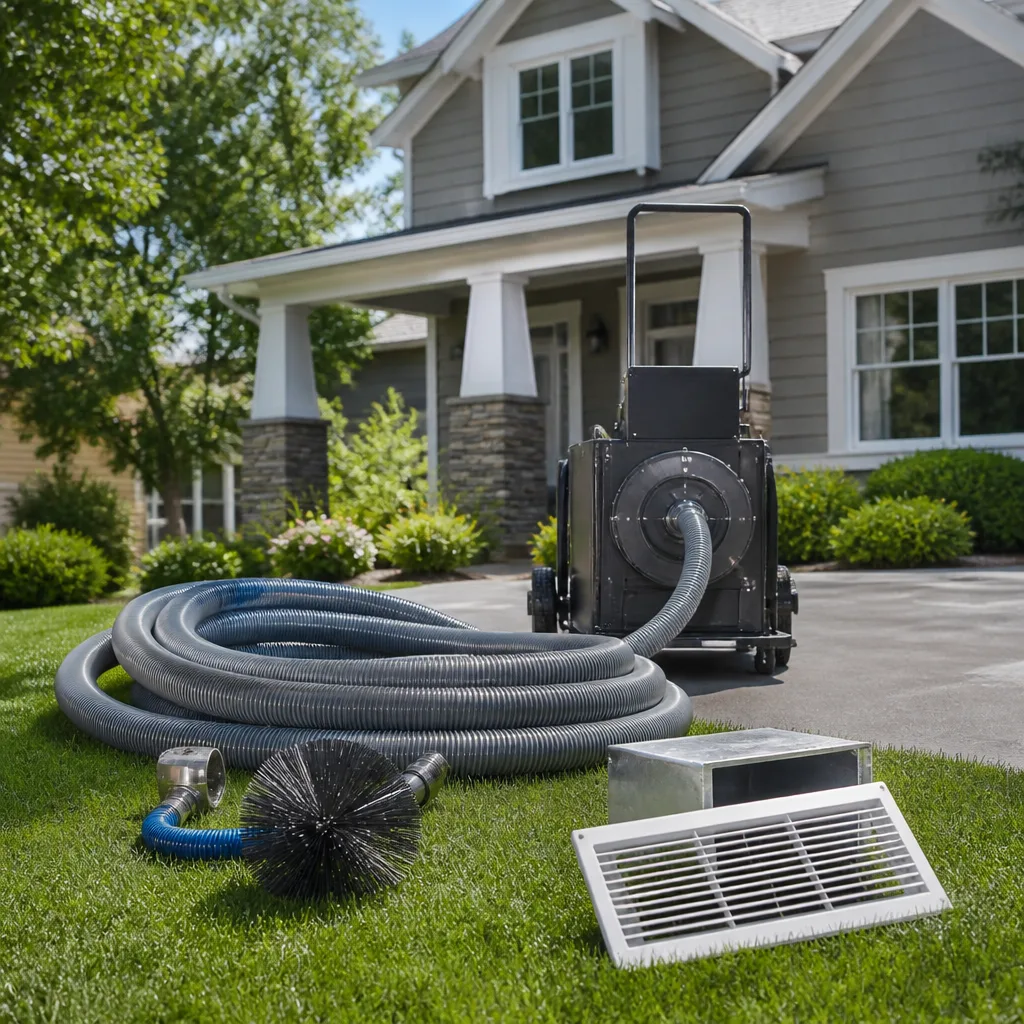 Whole-home duct cleaning
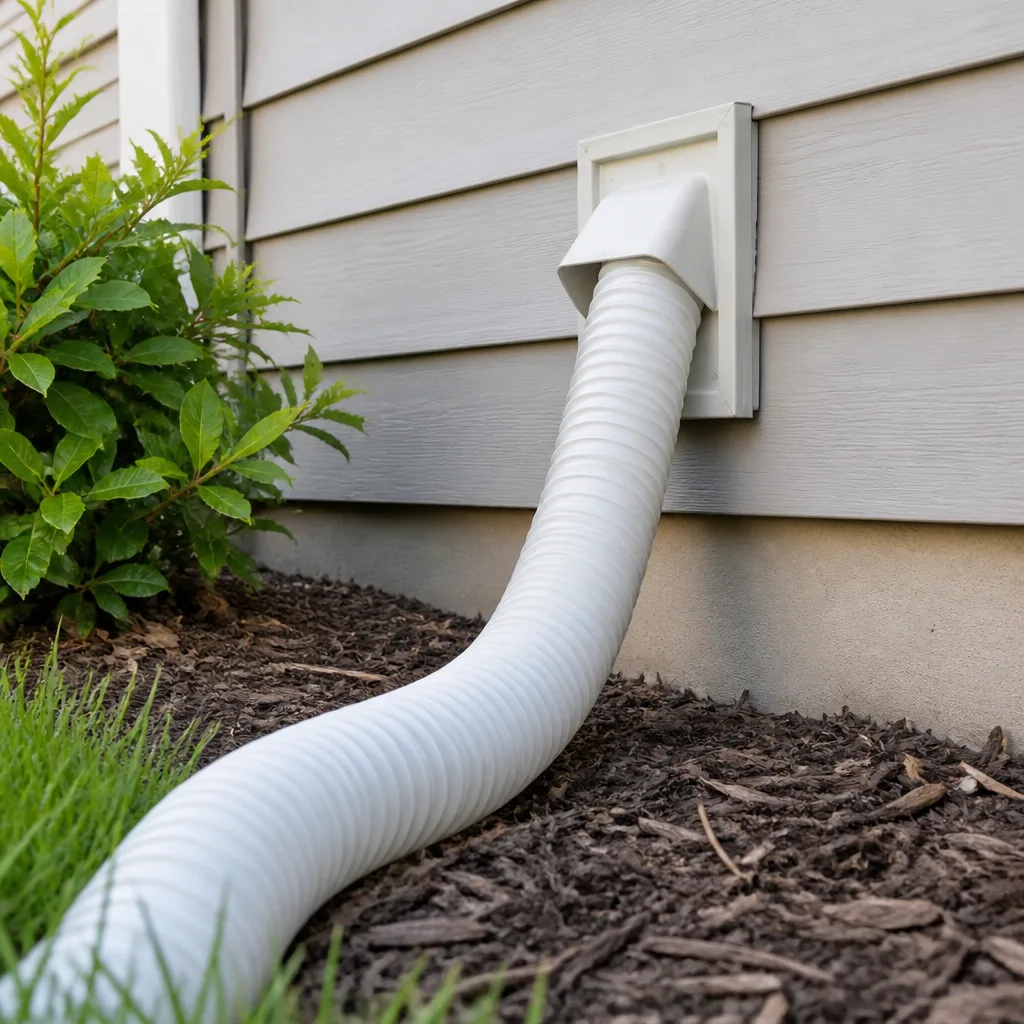 Dryer vent cleaning
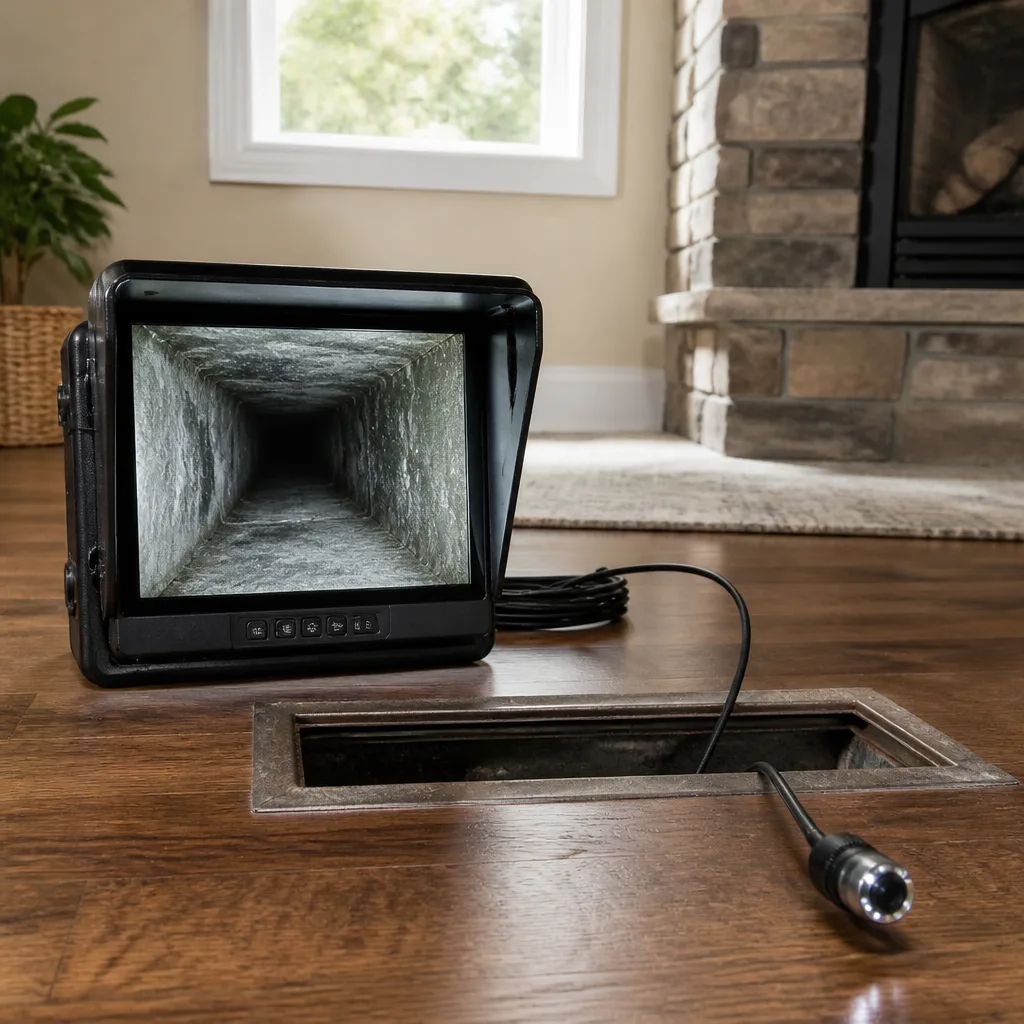 Camera inspection
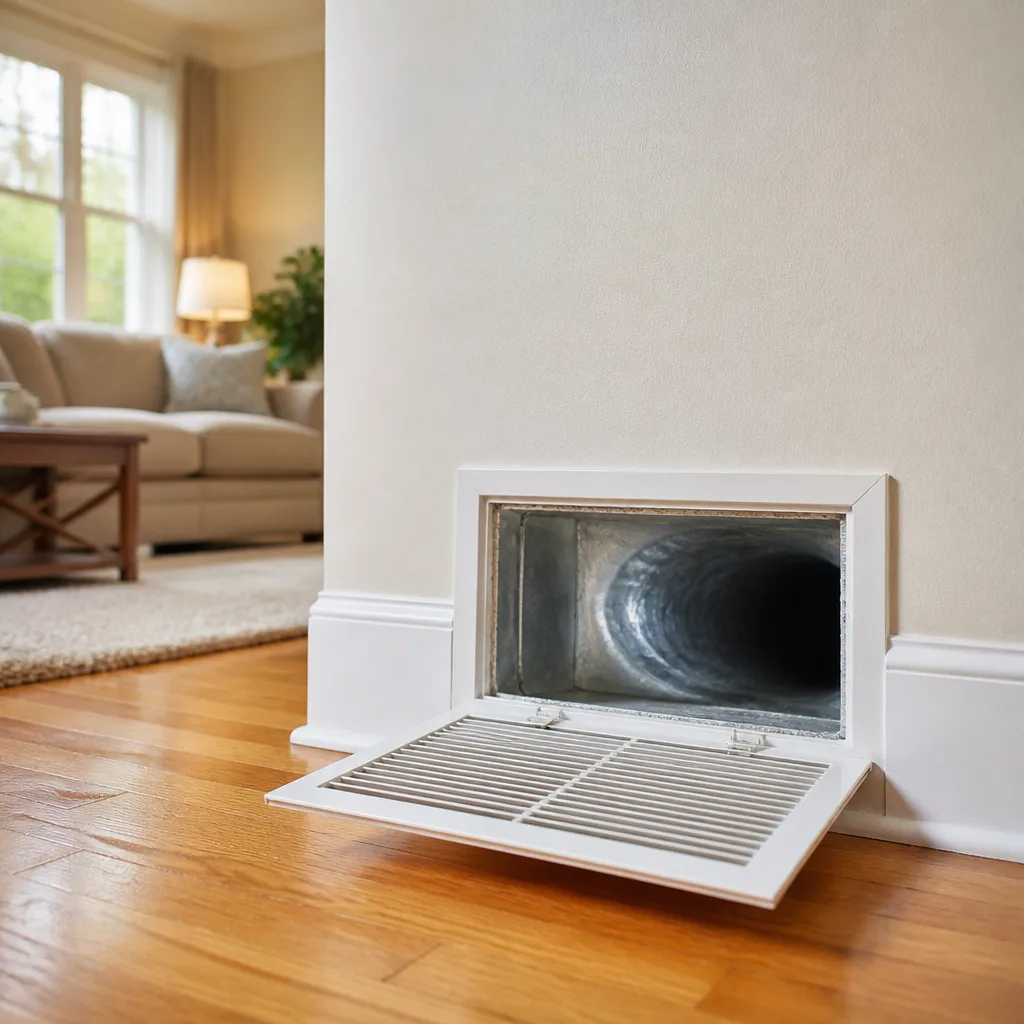 Sanitizing & deodorizing
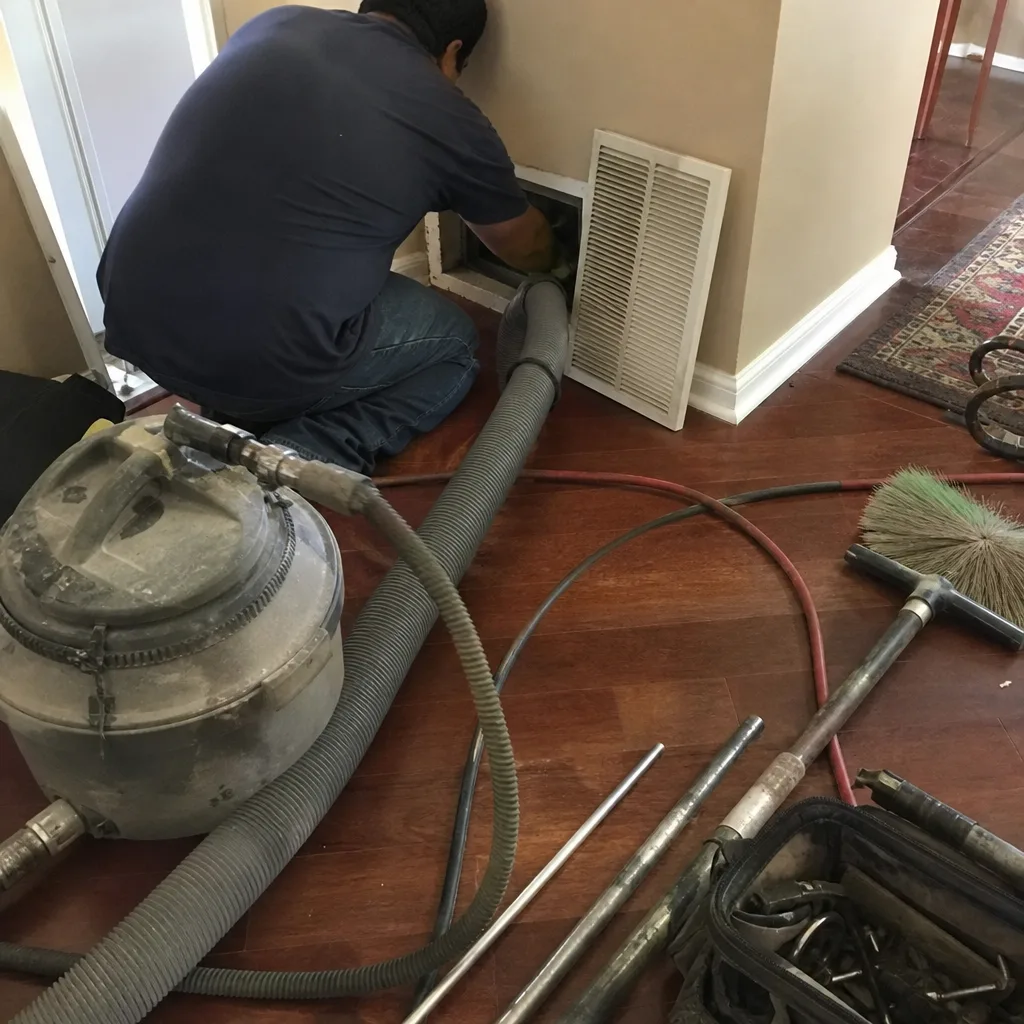
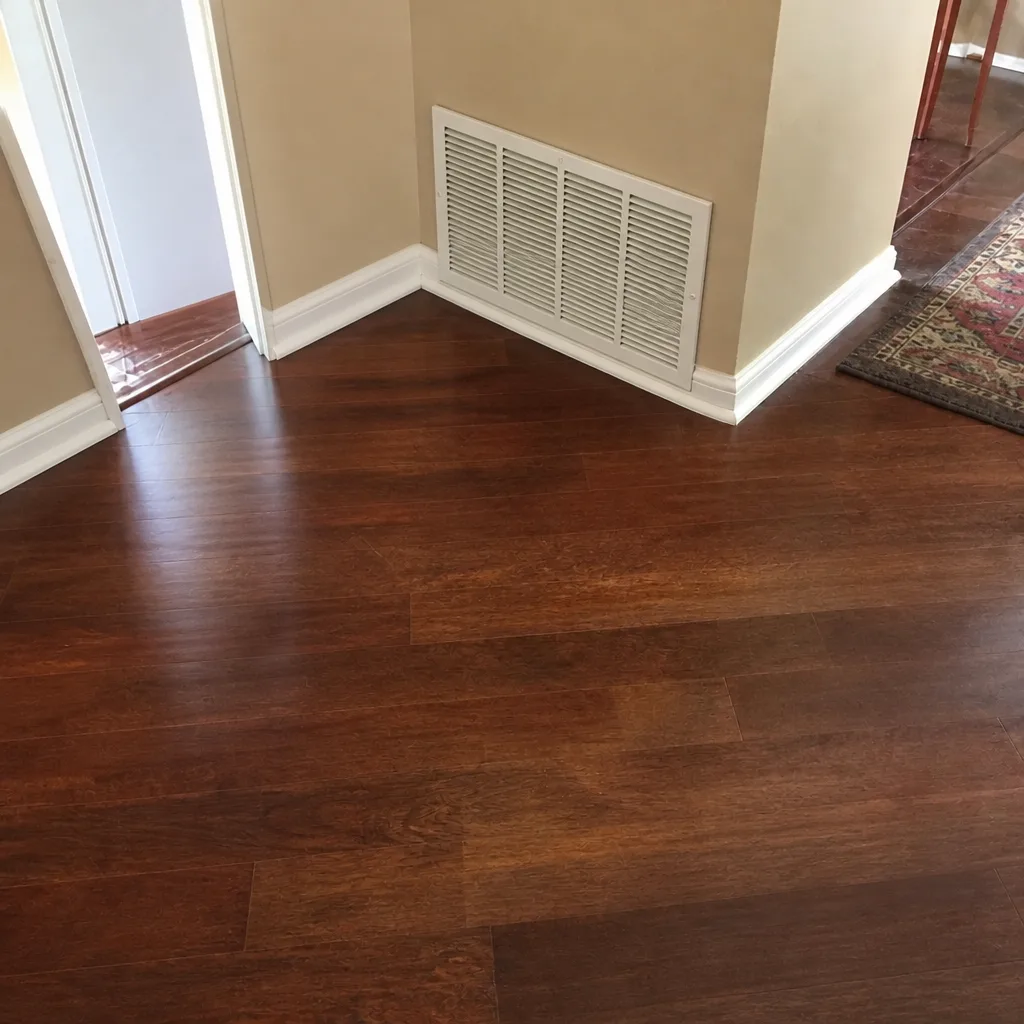
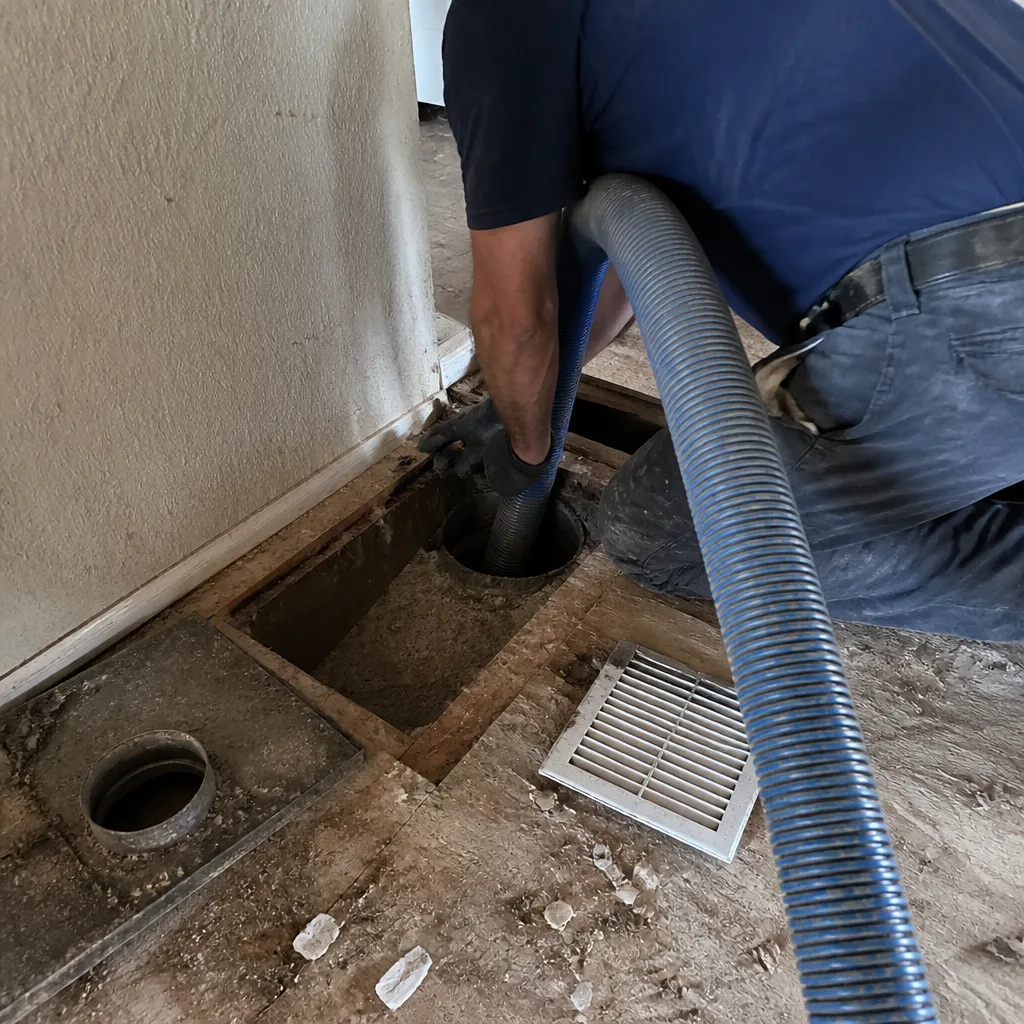
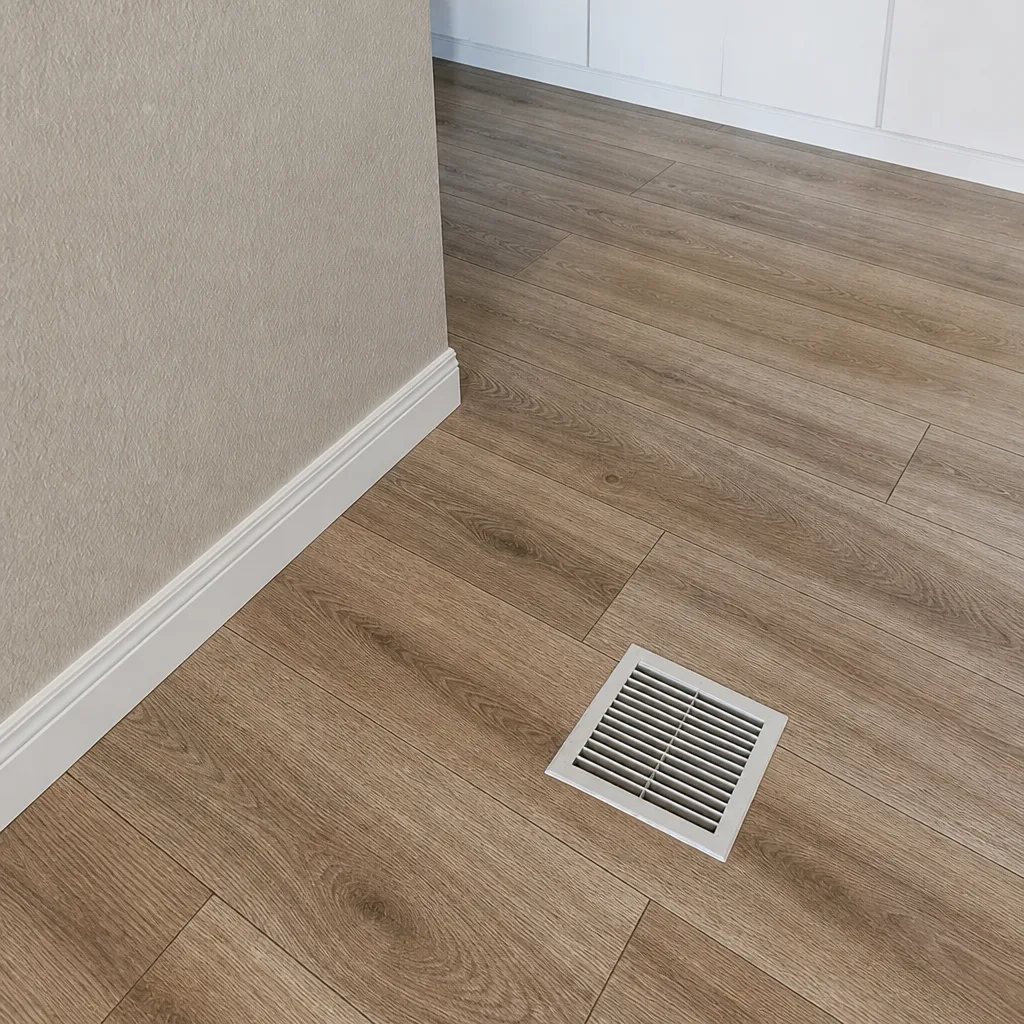
Whole-system duct and dryer vent check with before-and-after photos - you see exactly what came out of your vents
That "$99 whole-house special" is a bait ad - the real number appears once they are in your hallway, or the "clean" is a shop-vac at the register. We photograph the inside of your ducts before and after instead.
Air Duct Cleaning Maintenance Checklist for League City Homeowners
Most homeowners treat duct care as a once-every-few-years event, and the calendar reminder is the only inspection their system ever gets. That’s the wrong mental model. Your ducts are a network you can walk up to and look at, grille by grille, in under an hour, and the early warning signs – a thin film of dust on a register fin, a musty odor that shows up when the AC kicks on – are visible long before they turn into a remediation project. In this guide we’ll walk you through a full maintenance checklist you can run yourself, plus the specific triggers that tell you it’s time to bring in professional equipment. We’ll keep it grounded in what actually happens to ductwork in League City homes: the humidity, the construction dust, the pet hair, and the way this housing stock is built.
Quick Answer
A duct maintenance checklist for League City homeowners is a room-by-room inspection you run two to four times a year: check every supply and return grille for dust buildup, photograph accessible duct interior points with a flashlight and phone, and log any odor, discoloration, or visible debris. Schedule professional air duct cleaning when particulate depth, persistent odor, or heavy renovation or pet activity crosses the thresholds covered below.
Styles & brands we work with
- Whole-home duct cleaning
- Dryer vent cleaning
- Camera inspection
- Sanitizing & deodorizing
Table of Contents
- Why the filter isn’t the whole story
- The room-by-room register inspection protocol
- How to document duct interiors with a flashlight and phone
- When to move an item from “monitor” to “schedule now”
- Maintenance intervals for League City conditions
- What to log after a professional cleaning
- The dryer vent line on your checklist
- Common mistakes to avoid
- When to call a professional
- Frequently asked questions
Why the Filter You Change Every Month Tells You Almost Nothing
The filter catches what reaches the return grille. That’s it. Everything downstream of the filter – the return trunk, the supply plenum, the branch runs to each room – is where the real contamination collects, and you never see it because it’s sealed inside sheet metal or flex duct. Changing the filter every month keeps the blower and the coil cleaner; it does nothing for the trunk line ten feet in.
Here’s what we’ve found in our experience doing duct work across League City. The homes with the cleanest filters sometimes have the dirtiest return trunks, because the filter is doing its job and the homeowner assumes the rest of the system is following suit. It isn’t. The return trunk acts like a settling chamber. Air comes in from three or four rooms, slows down, and drops its load of fine particulates along the bottom of the duct. Over a couple of years that becomes a visible layer you could measure with a ruler.
There’s a second layer to this: the kind of dust matters. In League City’s humid climate, fine organic dust – skin cells, pet dander, fabric fibers – doesn’t stay dry. It takes on moisture and becomes the kind of surface that supports biological growth when the system sits idle between cooling cycles. That’s the difference between a duct that’s dusty and a duct that smells.
So the checklist below isn’t just “schedule a cleaning.” It’s a way to look at the parts of the system you can reach, document what you see, and make a decision based on evidence instead of a calendar.
The Room-by-Room Register Inspection Protocol
Set aside forty-five minutes and a small notebook or your phone’s notes app. You’ll work from the rooms closest to the air handler outward. At each register, you’re checking four things: visible particulate, air movement, odor, and condition of the grille and surrounding drywall.
Here’s the sequence:
- Turn the system off at the thermostat. You’re not diagnosing airflow right now; you’re inspecting surfaces. Running air while you look just keeps things moving.
- Start with the return grilles. Remove the grille if it lifts out easily. Look at the filter frame and the sheet metal or flex duct just inside. A thin dust film is normal. A visible ridge of debris along the bottom of the return boot – where the duct meets the grille – is a flag.
- Move to each supply register, room by room. Hold a flashlight at a low angle across the fin surface. Low-angle light shows a dust layer that straight-on light hides. Wipe one fin with a white paper towel; the color of what comes off is data.
- Check the air movement at each supply. Hold a strip of tissue near the grille with the system running. It should flutter steadily. If one room barely moves while others do, you may have a disconnected or crushed branch duct.
- Smell each register. A faint dust smell is normal. A musty, wet-cardboard, or old-gym odor is a different category and should be noted for that location.
- Look at the ceiling or wall around each grille. Discoloration, a soft spot in the drywall, or a stain means moisture is getting in somewhere. That’s a repair issue, not a cleaning one, and it needs to be found.
- Photograph anything that looks borderline. More on this in the next section.
Doing this protocol in a League City home takes about forty-five minutes for a typical three-bedroom, single-return setup. Two-story homes with a second air handler take a bit longer. The point is to build a picture of the whole system, not to find one bad register and stop.
How to Document Duct Interiors With a Flashlight and Phone
You don’t need a borescope to see more than you’d think. A bright LED flashlight and a phone camera with a wide-angle lens will get you into the return trunk, the main supply plenum where it’s accessible, and any register boot deep enough to reach.
Approach it in this order:
- Photograph the filter itself before you replace it. Lay it on a white background. A filter photo taken at the same spot and same lighting each time gives you a real comparison over months.
- Photograph the inside of the return boot at each return grille. Use your phone’s flash, but angle the lens so the flash doesn’t bounce straight back. A 30-degree angle off the duct wall gives you a clearer image of the bottom surface than a straight shot.
- Photograph the interior of accessible flex duct runs. Many League City homes have a section of flex duct in the attic or crawlspace with a serviceable access point. Look in with the flashlight, photograph the first two feet, and don’t go further.
- Photograph each supply register fin close-up. A standard shot of the whole grille, plus a close-up of one fin corner, gives you a comparison baseline for the next inspection.
- Record a short video walking each room. Narrate what you’re seeing. Nine months from now you’ll be glad you have the audio context.
Save everything to a single folder labeled with the date. The value of the documentation is the comparison, not the photo itself. We’ve seen homeowners spot a developing problem because a “before” and “after” shot of the same register was obviously different in dust color and depth.
One caution: don’t push anything into the duct past the point where you can see it. Flex duct in particular is easy to tear or disconnect at a joint if you’re fishing around blind.
When to Move an Item From “Monitor” to “Schedule Professional Cleaning Now”
The trickiest judgment call in home duct care is knowing when “dusty” becomes “needs a professional.” Here are the thresholds we use.
Move to “schedule now” if you see any of these:
- Visible particulate depth of roughly an eighth of an inch or more on the bottom of the return boot or the surface of an accessible supply run. At that depth, suction alone won’t reliably lift it – mechanical agitation is needed.
- A persistent musty or “wet basement” odor when the system first turns on, at any register, that doesn’t clear after the system runs for ten minutes. Odor that strong usually points to microbial growth on duct surfaces, not just settled dust.
- Discoloration patterns – dark gray or black mottling on the inside duct wall, especially near the coil or in the return trunk. That’s a different visual signature than plain brown dust.
- Visible debris visible through a supply register that includes drywall dust, insulation fibers, or construction grit. That usually means a return line was open during a renovation, and the whole system needs professional extraction.
- Recent flooding or water intrusion in the attic, crawlspace, or any area where duct runs pass through. Even if the ducts look fine, water exposure changes the calculus.
- New pet ownership or renovation activity in a home whose last cleaning is more than two or three years old.
A grayish haze on the filter frame and a light film on the register fins is “monitor” territory. Photograph it, log it, and check again in six months. Not every dusty duct needs immediate service. The judgment is whether the dirt is settled, isolated, and stable versus accumulating, spreading, or changing character.
If you’re on the fence, call us. Duct Cleaning League City offers free estimates on duct cleaning and repair work, and a quick walk-through at the grille level will tell you whether you’re in the “monitor” category or the “schedule” category. You can reach the team at (866) 942-5170.
Maintenance Intervals for League City Conditions
Generic advice says “every three to five years.” That’s a starting point, not a schedule. The actual interval depends on five local factors.
Humidity. League City summers sit in the high humidity range for months at a time. That’s hard on the air-conditioning system but it’s also hard on the duct network, because moisture in the air combines with accumulated fine dust to create the conditions biological growth needs. Homes in League City where the system runs nearly continuously from May through September tend to need attention at the shorter end of the interval range.
Pets. A home with one or two indoor pets producing dander daily effectively doubles its dust load on the return. For a home with pets and carpet, plan on a professional cleaning every two to three years, with the self-inspection protocol twice a year.
Renovation activity. Any drywall work, flooring replacement, or attic insulation job puts a huge amount of particulate into the air, and some of it lands in the ducts. Schedule a cleaning after the bulk of the renovation is done and the final cleaning is finished. If you’re doing it in stages, do a self-inspection after each stage and a professional cleaning at the end.
Flooding history. If a home in this area has been through any water event that reached the attic or crawlspace, treat that as a reset. Ducts in the affected zone should be inspected and, if they show any water staining or odor, cleaned or repaired. Water-damaged flex duct should be replaced, not cleaned, if the interior has been compromised.
Age of the system. Older ductwork with deteriorating interior liner or disconnected flex joints needs inspection more often because small failures develop into larger ones. A cleaning visit is also an inspection opportunity – we look for disconnected sections, torn flex, and loose joints while we’re working, and we fix them in the same visit rather than leaving them for the next contractor.
A reasonable baseline for a League City home: self-inspection protocol twice a year (spring and fall), professional cleaning every two to four years depending on the factors above, and dryer vent cleaning on a separate schedule.
What to Log After a Professional Cleaning
Professional cleaning gives you a clean slate. The log you build in the days afterward is what turns that clean slate into a baseline you can measure from.
Ask for and keep the following:
- Before-and-after photos of your own ducts. Any professional service worth hiring will show you photographs of what came out of the system. Keep them in your documentation folder. When you run the next self-inspection, you’ll have a visual reference for what “clean” looks like in your home.
- A written record of what equipment was used. Our technicians use Rotobrush mechanical brush-and-vacuum systems and Nikro HEPA-rated vacuum systems because suction alone won’t lift caked-on debris and shop vacs don’t capture fine particulates at the source. Knowing what was used is useful if a future contractor asks.
- Any repairs that were made. Disconnected sections reconnected, torn flex replaced, loose joints sealed. Note where they were and what was done.
- The date and the condition noted. A simple line like “return trunk cleaned, moderate dust, no odor” gives you a comparison point for the next cycle.
- Notes on filtration equipment. If your system has Honeywell or Aprilaire filtration components, note that the technician worked around them without bypassing or damaging them. That’s a detail worth confirming on the invoice.
This log takes five minutes to build and saves you a lot of guesswork two years from now. When you have documented before-and-after photos and a written record of the last cleaning, you can tell at a glance whether the system has drifted back into dirty territory or is holding up.
The Dryer Vent Line on Your Checklist
Dryer vent cleaning belongs on the maintenance checklist as a fire-safety service, not a convenience add-on. The National Fire Protection Association identifies accumulated lint in the dryer exhaust venting as the leading cause of dryer fires – the lint clogs the exhaust path, restricts airflow, and creates heat buildup inside the machine and the vent line.
Add these checks to your dryer vent inspection:
- Look at the outside vent flap. With the dryer running, the flap should open fully. If it flutters or barely opens, the venting path is restricted.
- Feel the exhaust air. Strong, warm airflow is normal. Weak or cool airflow points to a clog.
- Check the lint trap and the transition duct behind the dryer. The short flexible duct between the dryer and the wall is where a lot of lint accumulates and where a crushed or kinked section can cause a problem.
- Notice drying times. If clothes that used to take one cycle now take two, the vent path is likely compromised.
- Schedule professional dryer vent cleaning on its own interval. The exact interval depends on how much laundry your household runs and how long the vent run is, but it deserves its own line on the calendar, not a “we’ll get to it.”
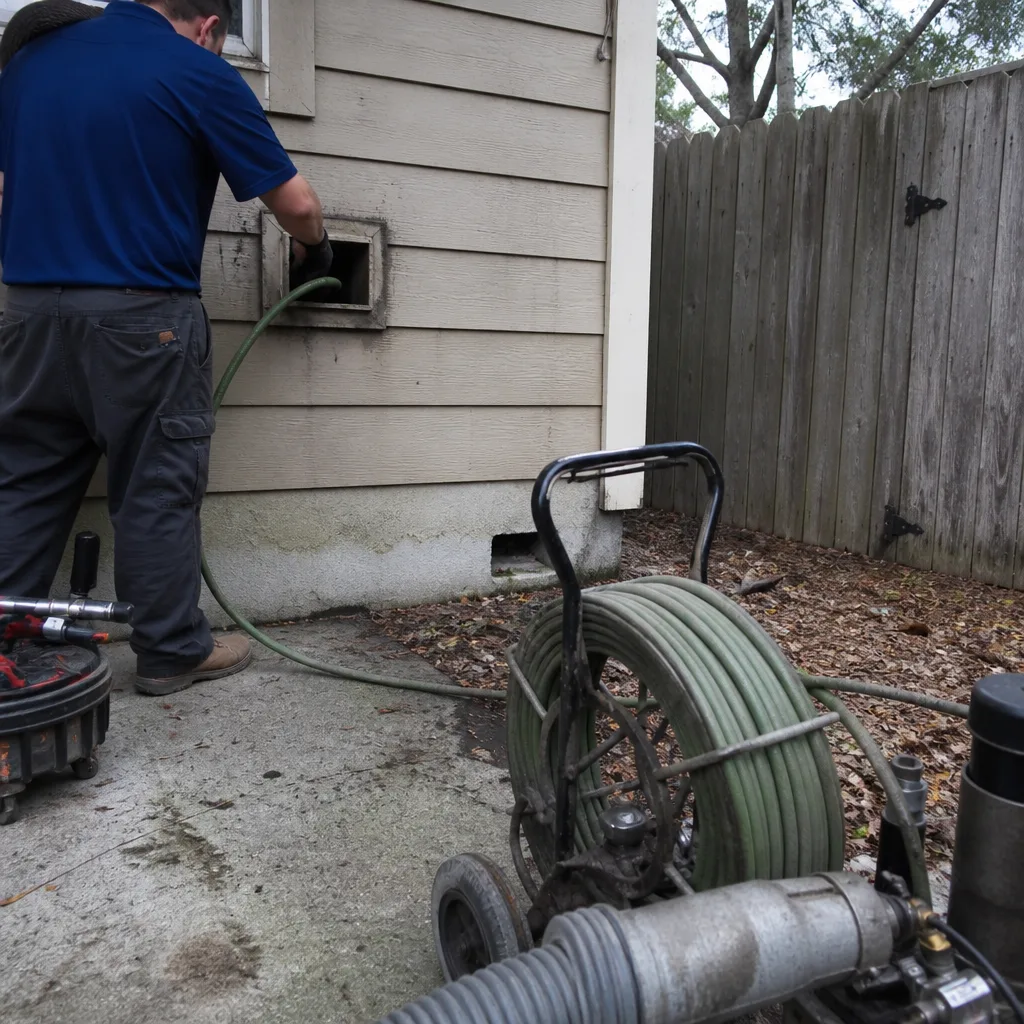
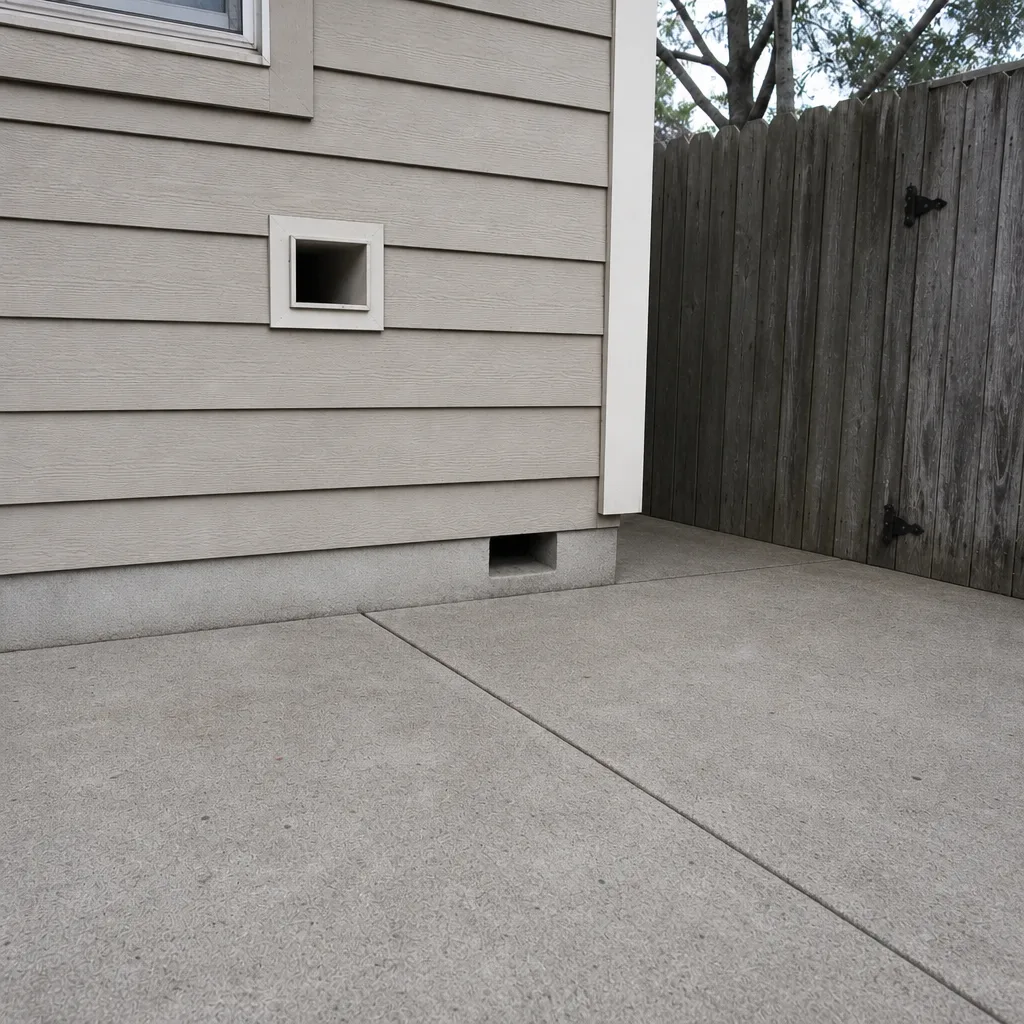
Dryer vent cleaning is a dedicated service we treat with the same equipment discipline as dryer vent cleaning work on the air duct side: proper extraction, comprehensive inspection of the run, and a check for crushed or disconnected sections behind the dryer.
Common Mistakes to Avoid
- Assuming the filter is the whole system. A clean filter doesn’t mean clean return trunks. The filter catches what reaches the grille, not what settles in the duct ten feet downstream.
- Hiring on price alone for duct cleaning. A low headline price often means suction-only work with consumer-grade equipment. Rotobrush brush-and-vacuum systems and Nikro HEPA equipment are what actually dislodge caked debris and capture fine particulates at the source. If a quote is dramatically below everyone else’s, ask what equipment will be on site.
- Skipping documentation. Without photos and a written log, you have no way to tell whether the system is improving, holding steady, or getting worse. Documentation is what turns a maintenance visit into useful data.
- Ignoring odor because the ducts look clean. A musty smell on startup that doesn’t clear is a different signal than visible dust. It usually points to moisture or microbial growth on duct surfaces that no amount of filter changing will fix.
- Treating dryer vent cleaning as optional. Dryer vent lint is a documented fire hazard. If your household runs a lot of laundry, the vent needs professional attention on an interval, not just when drying times slow down.
- Not asking whether the service includes repair. Many duct cleaning companies clean and leave. If your inspection turns up a disconnected section, a torn flex run, or a crushed branch line, you want a service that can fix it in the same visit. We clean ducts and we also fix them.
- Waiting until a contamination problem is visible from the room. By the time dust or debris is visible at a supply register, the accumulation in the trunk is usually well past the level a normal cleaning cycle would handle. Regular self-inspection catches the transition earlier.
When to Call a Professional
Call a professional when your self-inspection turns up visible particulate at the eighth-inch threshold, a persistent odor that doesn’t clear after ten minutes of system run time, discoloration or staining on duct surfaces, or evidence of a disconnected or crushed duct section. Also call after a renovation that involved substantial drywall or insulation work, after any water intrusion event that reached the attic or crawlspace, and when your system’s filtration equipment – Honeywell or Aprilaire components, for example – needs work that requires bypassing or removing parts of the air quality equipment.
Some situations need more than cleaning. Abatement Technologies containment equipment, which we carry for jobs with mold, heavy allergens, or post-renovation debris, allows contained work on contaminated duct environments without redistributing the particulate through the home. If your inspection suggests that kind of situation, professional-grade equipment matters.
Duct Cleaning League City offers free estimates in League City – call (866) 942-5170. Our technicians have up to experience, and every visit includes before-and-after photos of your own ducts so you can see exactly what came out.
Frequently Asked Questions
For a typical League City home, professional air duct cleaning every two to four years is a reasonable starting point, with a self-inspection protocol twice a year in between. Homes with pets, recent renovations, or a flooding history tend more toward the two-year end of that range. Call (866) 942-5170 for an exact quote on your specific system – estimates are free.
We price per job by written estimate rather than by vent count or with a teaser rate – the exact figure depends on the size of the system, the number of returns, and whether repairs turn up during the visit. The written estimate sets the final price, and the estimate itself is free. Call (866) 942-5170 to schedule an estimate.
They’re usually describing a different service. A low quote often reflects suction-only work with consumer-grade or repurposed shop vacs, which won’t dislodge caked-on debris or capture fine particulates at the source. Professional-grade equipment – Rotobrush brush-and-vacuum systems, Nikro HEPA-rated vacuum, Abatement Technologies containment gear where the situation calls for it – is what makes the difference between dust that’s loosened and dust that’s removed. Ask what equipment will be on site, and call us for a comparison at (866) 942-5170.
Before-and-after photos of your own ducts, taken at the same grille positions you can go back and inspect yourself. Any contractor who won’t provide them is asking you to take their word for it. Ask for the photos and for a written summary of any repairs made during the visit. If you’d like to see what that looks like, call (866) 942-5170.
No. Dryer vent cleaning runs on its own interval that depends mainly on laundry volume and vent-run length, not on the air duct schedule. It also belongs to a different category of concern: dryer vent lint is the leading cause of dryer fires according to the NFPA, so vent cleaning is a fire-safety service. Call (866) 942-5170 to schedule dryer vent cleaning separately.
Yes. Our scope is air duct cleaning, dryer vent cleaning, and air duct repair, so disconnected sections, crushed flex runs, and torn ducting found during a cleaning can usually be addressed in the same visit rather than booked for a second appointment. Call (866) 942-5170 and describe what you’ve seen at the grille level so we can plan the visit correctly.
The Bottom Line
A duct maintenance checklist isn’t a calendar reminder. It’s a record of what your system looks like over time: photos at each register, notes on odor and discoloration, and a written log from every professional cleaning. Run the room-by-room inspection twice a year. Watch for the specific triggers – visible depth, persistent odor, discoloration, disconnection – that move an item from “monitor” to “schedule now.” Calibrate the professional interval to the conditions in your League City home: pets, renovation history, water exposure, and whether the system has premium filtration equipment that needs to be worked around carefully. And keep the dryer vent on a separate fire-safety schedule, because it’s a different risk category entirely.
If you’d rather have a technician-level inspection run alongside the cleaning, call Duct Cleaning League City at (866) 942-5170. We answer 24/7, with fast dispatch from 7am to 7pm, Sunday through Friday. Estimates are free, the price is set per job by the written estimate, and every visit includes before-and-after photos of your own ducts.
For a full look at how our service works, start with Duct Cleaning League City and the specifics of air duct cleaning. If you’re also comparing neighborhoods around the area, see our League City page.
Written by the team at Duct Cleaning League City.
See the difference
 Before
 After
 Before
 After
 Before
 After